VEX Requests
Use VEX Requests when your own vulnerability scanner flags a CVE and you want an official answer from the organization or vendor about whether it actually affects your deployment.
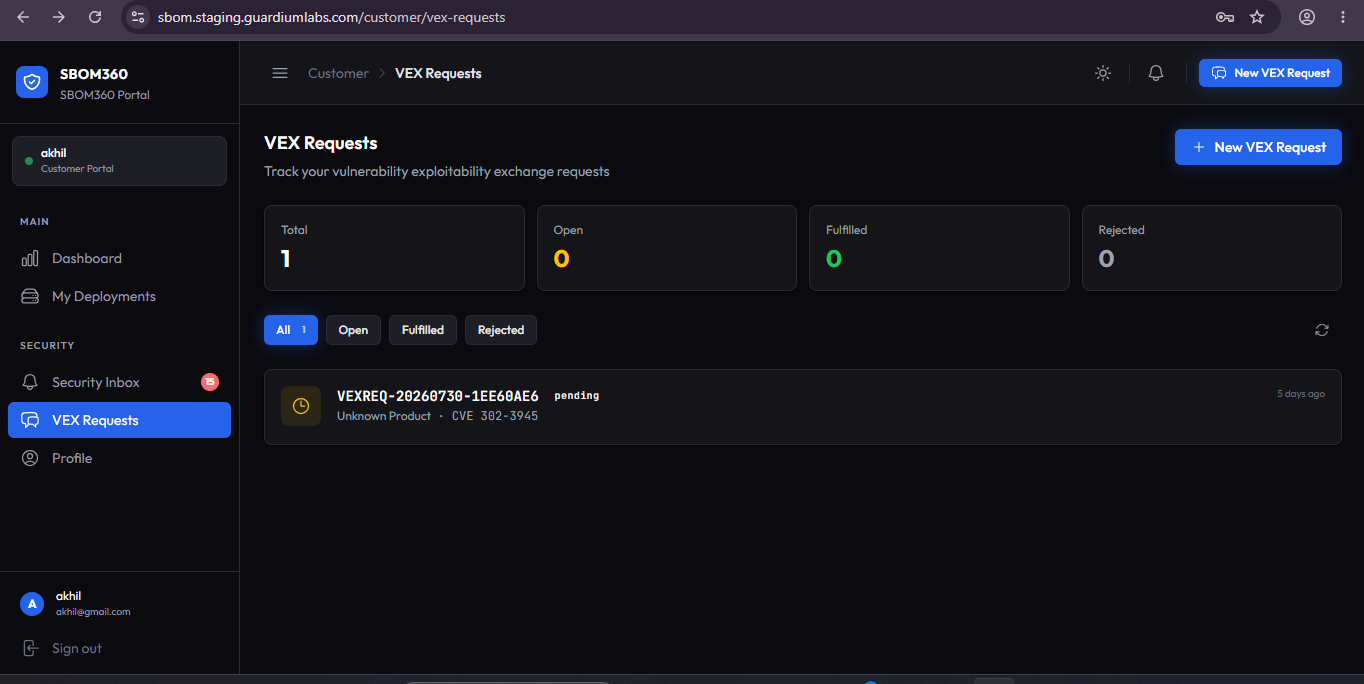
VEX Requests list
Summary cards show Total, Open, Fulfilled, and Rejected counts. Tabs filter the list by status. Each request shows its ID, status, product, CVE (if applicable), a short description, submission date, and urgency. A green "VEX document available" indicator appears once a response has been delivered.
Creating a VEX request
Click New VEX Request to open the form.
Step 1 — Product
- Select Product: choose the product from your deployments (required).
- CVE / Vulnerability ID: enter one or more CVE IDs, comma-separated; multiple CVEs create separate requests.
Step 2 — Request Details
- Urgency: choose a level from the available options.
- Description / Context: explain why you need this assessment, including deployment context, affected version, and any mitigations already in place (required).
- Affected Package(s): optionally list specific components, comma-separated.
- Deployment Environment: optionally indicate the environment this request relates to.
- Submit VEX Request: click to send. The request enters the organization's VEX Request Inbox for response.
VEX request detail page
A Request Progress tracker shows each stage of the request's lifecycle visually. Below it, your original request description is shown alongside — once available — the VEX Assessment Received panel, containing the full VEX statement: document ID, issuing author, VEX status, justification, impact statement, recommended action, and any affected packages. While a request is still open, a Cancel Request button is available.
Tip
Include as much deployment context as possible in your request description — the vendor or organization's ability to give you an accurate, environment-specific answer depends on the information you provide.